The end of October is always a special time. It's when the boys take themselves off for a long weekend to a coastal destination in Devon to do what boys do....lose money in penny arcades, eat fish and chips, watch Rambo DVD's and have some quality Daddy and boy time. And I get to craft my little heart out! A whole weekend alone in the Week Day home is...blissful, although I don't think I'd like it every weekend!
This weekend I ticked a whole load of projects off my "to do" list including making my third mouse in as many months but this was a special request to be given as a Christmas present and I am pretty quick at making these now!

But the reason for showing you this is to focus on the buttons. These have been personalised for the recipient. They're not made of cardboard, they're made of plastic and below is a tutorial to show you what you'll need and how to do this :)

You'll need some of this stuff - shrink plastic. You can get it in good craft shops or online without difficulty. You will also need a craft heat gun, a hairdryer just won't be hot enough!

You also need the items below - a craft mat is useful but not critical, a large hole punch, although you can of course cut by hand, a permanent market pen and if you don't have a cropadile, use a standard file hole punch.

Punch out a couple of practice circles so you can try writing what you want to get the spacing right, then commit to the plastic!

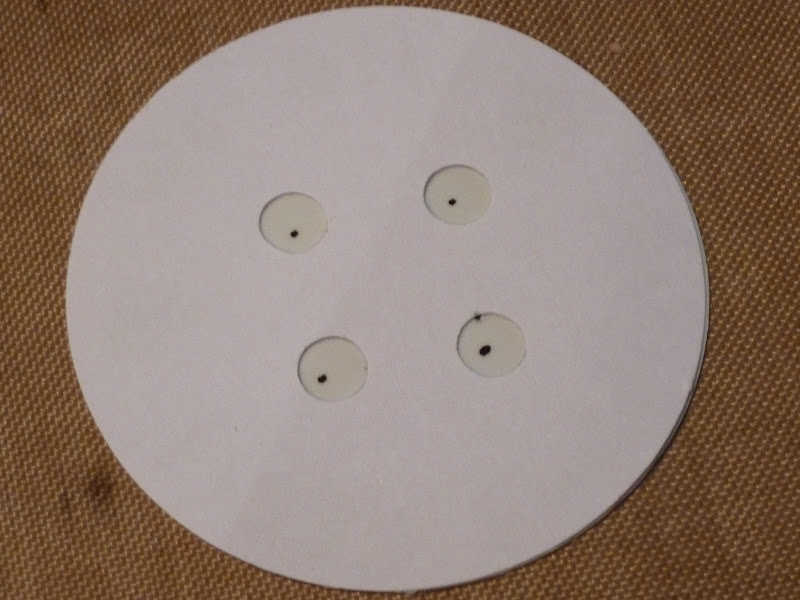
Punch 4 holes in your practice circles to make sure they're positioned correctly and use it as a template on your plastic version.

Use the permanent pen and dot where you'll use the hole punch.
The punch the holes and get your heating tool.

As you heat the circle it will twist and turn but don't panic, it will melt back to it's original shape.

Nearly finished....

Done! And here's the finished version next to the original size. It shrinks to about 7 times the original, becomes thicker and finally cools enough for you to handle.

You can make all kinds of personalised buttons using someone's name, the date of their birthday perhaps or a seasonal phrase. If you want to use a rubber stamps, use StazOn ink, cut out and shrink. There are a couple of examples below shown in their original stamped size and shrunken. You can colour it with pencils but be aware that the colour will darken as the object shrinks so start off very lightly.

No comments:
Post a Comment